
Power racks are built for versatility. They typically include adjustable J-hooks, safety bars or pins, and a stable structure that supports exercises like squats, bench presses, overhead presses, and barbell rows. Some racks even have pull-up bars and attachments for dips or cable work. But no matter how advanced or basic your rack is, understanding its proper use will enhance both your results and your safety.
Getting Familiar with Power Rack Components
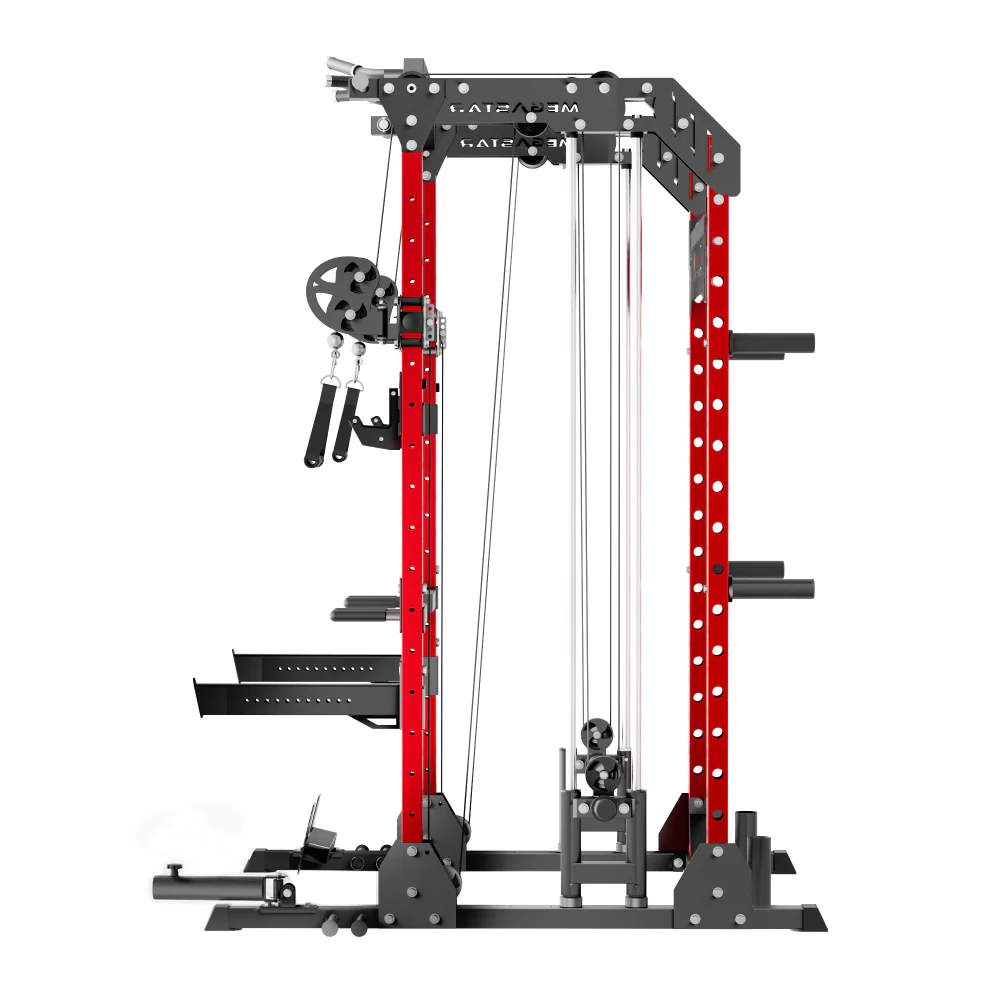
Before jumping into any lifts, it’s important to understand the key components of a power rack. The vertical posts are equipped with multiple holes, allowing you to adjust the height of the J-hooks and safety bars. J-hooks hold the barbell at your starting position for each lift, while safety bars or spotter arms act as a backup to catch the weight if you fail a rep.
Most racks also feature a pull-up bar across the top, and some models include additional features like band pegs, dip attachments, and plate storage pegs. By learning how to position these components correctly, you’ll create a personalized setup that matches your height, body mechanics, and training goals.
Proper positioning of the J-hooks and safety bars is key. The J-hooks should be placed at a height that allows you to unrack and rerack the barbell easily without overreaching or bending too low. The safety bars should be set just below your range of motion so they can catch the bar without interfering with the lift itself.
Setting Up for Squats Safely and Effectively
The squat is one of the most powerful exercises you can perform in a power rack. To set up correctly, place the J-hooks at shoulder height. Position the barbell so it rests comfortably across your upper back or traps. Step under the bar, brace your core, and lift it off the hooks with your legs—not your back.
Take one or two steps back into the center of the rack and ensure your feet are shoulder-width apart. Set the safety bars just below your lowest squat depth. This way, if you can’t stand back up, you can safely drop the bar onto the safeties without getting pinned.
Maintaining proper form is essential for both safety and effectiveness. Keep your chest up, spine neutral, and knees tracking over your toes as you descend. Lower yourself under control, then drive through your heels to return to the starting position. Re-rack the bar carefully after completing your set.
Performing the Bench Press with Confidence
The bench press is another major lift that benefits greatly from the safety features of a power rack. Set the J-hooks so the barbell is at a height where you can unrack it comfortably from your lying position without overextending your shoulders. The safety bars should be just below chest level when you’re lying on the bench.
When set correctly, the safeties will catch the bar if you fail a rep without interfering with the movement. Lie flat on the bench with your feet planted firmly on the floor. Unrack the bar, lower it under control to your chest, and press it back up while keeping your elbows at a natural angle—not flared out too wide.
Proper breathing, bar path, and control are all vital in the bench press. Lower the bar in a straight line to your mid-chest and drive it upward following the same path. Rerack the bar slowly and make sure it is fully secured before sitting up.
Mastering the Overhead Press and Pull Movements
The overhead press is another effective lift that can be done safely within a power rack. Set the J-hooks at upper chest level and place the bar on the front of your shoulders. After unracking the bar, step back slightly and press the weight overhead while keeping your core tight and your back straight.
Use the safety bars when pressing inside the rack to catch the bar in case you lose control. Set them just below your shoulder height so they don’t obstruct the lift but can catch the bar if needed. If your rack allows for overhead clearance, this is a great movement for developing upper body strength.
For pull movements like barbell rows or rack pulls, the power rack provides a stable environment to support proper form and heavy loads. You can set the bar at shin or knee height for partial deadlifts or set up bands and attachments to increase resistance and variation.
Using Safety Bars the Right Way
Safety bars or spotter arms are arguably the most important part of the rack when it comes to injury prevention. They must be adjusted precisely based on the exercise and your body mechanics. For squats, they should be just below your lowest squat depth. For bench presses, they should be just beneath your chest when the bar touches it.
Incorrectly placed safety bars can either get in the way or fail to protect you when needed. Take the time to test the height before starting your sets. Perform a few empty bar reps to confirm that the safeties are positioned correctly. Knowing that the bar will be caught if something goes wrong allows you to train harder and more confidently.
Training Alone with Proper Preparation
One of the key advantages of a power rack is the ability to train alone without a spotter. However, this freedom comes with responsibility. Always double-check that the J-hooks and safety bars are secured properly. Keep your workout area clear of clutter and ensure your footing is stable.
Warming up thoroughly and starting with lighter weights is also critical, especially if you're adjusting to new exercises or using a new rack. It’s better to increase weight gradually while ensuring form and control than to rush into heavy lifting without proper setup.
Using collars or clips on the ends of your barbell is another simple but important step. They keep the plates from shifting during your lift and reduce the chance of imbalance or injury.
Progressing Over Time for Maximum Gains
The power rack supports progressive overload, which is key to building strength and muscle over time. As you get more comfortable with the equipment and improve your form, gradually increase the weight, reps, or intensity of your workouts.
You can also incorporate advanced techniques like pause reps, partial reps, or band resistance using the power rack. These methods challenge your muscles in new ways and help break through plateaus.
Tracking your lifts and setting new personal goals will keep your training focused and effective. Use the rack to support your progress by adjusting setups, trying new variations, and safely exploring heavier loads.
Conclusion
Using a Power Rack correctly is not just about lifting weights — it’s about creating a safe and structured environment that supports long-term progress. From proper setup and equipment adjustments to executing lifts with clean form, every aspect of your power rack training plays a role in maximizing gains and minimizing injury.